

Here’s a quick and easy pattern I came up with for placemats. I didn’t want to spend hours making a set of placemats so I decided to try something new. So, I started playing around with some leftover strips I had from a Berry Bliss Bali Pop by Hoffman Fabrics. And here’s what happened…
What you will need
 |
| Don’t you love my purple cutting mat! I know I do! |
2.5″ strips of fabric at least 19″ long (6 per placemat)
12.5″ x 18″ Fusible Fleece (Cotton Batting would also work)
12.5″ x 18″ fabric for backing
Fabric for binding (I used 2 strips, 2″ x WOF)
Let me start by saying I decided to use the fusible fleece because it’s easy! I’m all about saving time. Cotton batting would also work but would require pinning the fabric strips in place. I HATE pinning so I went for easy and used the fusible fleece!
First, lay the fusible fleece with the fusible side up. Seems silly to point this out but I have first hand knowledge that this is a VERY important step. Otherwise, you will have to start over after you have your strips laid out and positioned. Ask me how I know!
Start laying the strips of fabric on the fleece. The first strip will line up with the top of the fleece. Each subsequent strip will overlap the previous strip by 1/2.” I used the grid on my cutting mat to help me line up my strips.
 |
|
| The dark strip is strip #1. Strip #2, the green strip, overlaps strip #1 by 1/2″ |
 |
| Strip #3, the blue strip, overlaps strip #2 by 1/2″ |
Continue adding strips until all 6 have been placed on top of the fusible fleece. At this point, nothing is attached. The strips are simply laying on the fleece.
 |
| All 6 strips placed on the fleece |
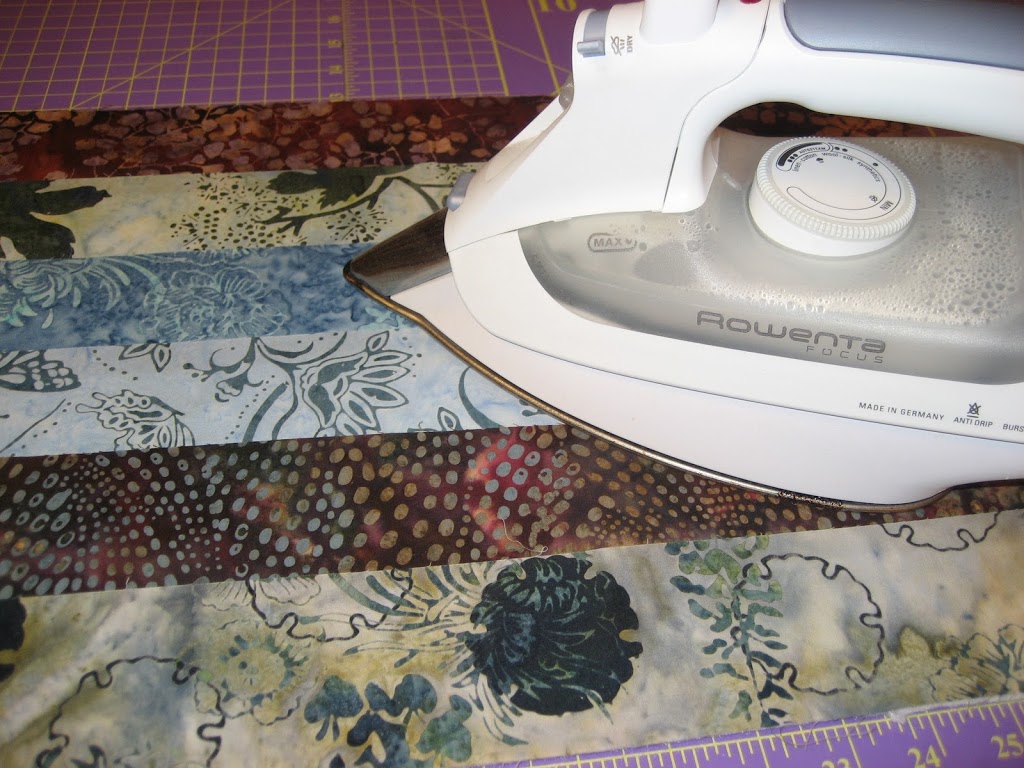
Iron the strips in place.

Flip it over and trim off the excess strips on both sides.
 |
||||||||||||||||
| My little piles of scraps after trimming |


 |
| All strips are top stitched now! Almost done… |

 |
| All 4 sides are pinned…this is a close up of one corner |
 |
||||
| Almost finished…. |


 |
| Close up…so cute! |
Love the simple little flower !!
Inspired me to try a few mats 🙂
I’m wondering if you can put the back on before you sew the strips in place? It seems like you can. Maybe I’m missing something. Great idea. And I love love love the flower and button!!